Sunday, September 25, 2016

Freezing Fruits


I love buying fruits and vegetables on sale. Buying produce on sale can be a huge money saver! If you know how to properly preserve your food, it will go a long way. Not to mention it tastes better, is fresher, doesn't have preservatives or added juices, and looks way better than the canned stuff. I freeze whenever I have the chance. The thing about freezing verses canning however, is that frozen food can go bad with frostbite if not used in time. Be sure that you only freeze enough to use- don't over buy and freeze and then allow it to go to waste. If you freeze regularly, you will want to make sure you are rotating your stock and labeling foods with a date to ensure freshness!

One of my favorite things to freeze is green beans. I usually keep my eye out for sale- I will only buy green bean when they are less than $1.00/pound. In the summer you can usually find fresh garden green beans at a good price, unless you are able to grow them yourself!  Fresh green beans are so much better than canned beans. I can't wait to share with you how to freeze green beans. In order to properly freeze green beans (or any other vegetable) there are a few more steps involved, unlike fruit... I will save that for another blog post!
Floursack towels can be purchased at Walmart,
Target, etc. or my personal favorite- Amazon!

Freezing fruit is pretty simple as you don't have to worry about blanching it (pre-cooking it) like you would vegetables. First and foremost, it's important to wash your produce. I use an organic fruit wash that can be found in your local grocery stores, otherwise I know Norwex has a good fruit wash. Soak, wash, rinse and allow to dry on a clean flour sack towel. **Side note: I love using floursack towels in my kitchen. They are great for drying dishes, cleanup, and just about anything else! They dry quickly, are lightweight, great to covering dough when baking. Also, floursack towels won't leave little bits of lint behind on your dishes, or in this case, fruit.**


Once your fruit has been washed, line a cookie sheet with parchment paper and lay your dried berries in a single layer on the lined sheet. Make sure the berries are not piled on top of each other!


Pop the fruit in the freeze for about 3 hours (or until frozen solid). Once the berries are frozen solid, put them into a labeled bag. That's it!!

**The key here is freezing them prior to bagging AND freezing them in a single layer on the cookie sheet. Often times you will see people bag fruit by simply throwing it in a bag and popping it into the freezer. The end result- a large frozen clump of fruit that will need to be chipped away at or broken apart when you go to use it. By freezing them in a single layer prior to bagging, you avoid one large frozen fruit pile in a bag. The berries will not be frozen together and will make measuring and preparation of the fruit so much easier when you take it out of the freezer! It's a simple trick but is the best way to freeze produce!

I hope you found this little tidbit helpful! I will share how to properly freeze vegetable in a future post. Thanks for stopping by and checking things out! :)

These blueberries have already been frozen in a single layer on a cookie sheet then bagged!
The berries are not frozen together and measuring is a synch! 


Wednesday, September 14, 2016

Cheeseburger Soup

With the weather in Iowa slowing cooling down and the leaves on the trees starting to fall, it's putting me in the mood for all things fall. With that, comes soup. There's nothing better on a cool autumn day than to come home, put on your comfy clothes, kick back, and enjoy a nice bowl of homemade soup. Ahhhh... I can smell it already! It's SOUP SEASON!

Cheeseburger soup is another favorite in our house. My daughter specifically requested that we have this soup for Christmas dinner! She proceeded to tell me how much it makes her think of cold winter nights, family, cozy evenings together, and Christmas time. Wow. All those emotions and memories being evoked from a bowl of soup. It must be pretty good then!

One of the great things I really like about this soup, besides the fact that it's delicious, is that it's supper easy! If you're looking to cut down prep-time before dinner, many (pretty much all) of the ingredients can be prepared the night before making meal time a synch!

To begin, you will need 3 cups of chicken broth in a small stock pot. I prefer to make my own broth by using chicken bouillon verses purchasing canned broth. I personally feel that by using chicken bouillon you get more flavor AND it's much cheaper and cost effective over the long run. I don't recall ever buying chicken broth- I have always made it using bouillon.
Cubed potatoes, chopped onions & carrots in broth.

In the chicken broth, you will add 4 cups of peeled and cubed potatoes (bite size). Add chopped onions and carrots. **The recipe calls for chopped celery, but I choose to omit this ingredient** (these ingredients could easily be prepared in advance)

Bring the broth/veggies to a boil, cooking until the vegetables are tender and the potatoes are easily poked with a fork. Next, brown 1 pound of ground beef. Drain off the fat. (Ground beef can also be prepared in advance)

Brown ground beef.
Cubing cheese is a great job for little ones!


While the beef is browning, cube 8 oz. of Velveeta cheese. This is a great job for little helpers in the kitchen!! (Again, cheese can be prepared the night before!)

Add 1 cup sour cream.

Once the potatoes and vegetables are tender, add the ground beef, cheese, and 1 cup of sour cream to the mix. Simmer and stir until heated through and the cheese is completely melted.
Salt & pepper to taste.


That's it! Super simple and fast! To top it off, add some crumbled bacon if you wish. Enjoy! Yuuuummmmm...


Cheeseburger soup! Crumbled bacon adds extra flavor!


Cheeseburger Soup:


3 cups chicken broth
4 cups peeled & cubed potatoes
1/2 of a small onion, chopped
Chopped carrots - to desired taste (I added one medium carrot)
Chopped celery- to desired taste 
1 pound ground beef- brown and drain
8 oz. Velvet cheese- cubed
1 cup sour cream
Salt & pepper to taste 
Crumbled bacon- optional 

Boil the cubed potatoes and vegetables in the chicken broth until the vegetables are tender and the potatoes are easily poked with a fork. Brown ground beef, drain. Cube 8 oz. of cheese. Once the vegetables and potatoes are ready, add the meat, cheese, and 1 cup sour cream. Simmer until heated through and the cheese is completely melted. Add crumbled bacon for additional flavor! Enjoy :) 


Monday, September 12, 2016

Sew Easy!


This project has been on my to-do list forever! I finally made the time to sit down and get my new kitchen curtains whipped up. I'm so glad I can check this off my list.

About 7 years ago I made curtains for the kitchen. I made them because I was not finding what I wanted in the stores (or online) and I refused to pay a small fortune for something that I could easily make. The curtains I envisioned were simple so I knew I could pull it off as soon as I found the perfect fabric.

I swear fabric stores are becoming a thing of the past, but I was lucky to find what I had in my mind at JoAnn's Fabrics. I wanted a "country" look but did not want plaid, lace, or chickens. I found this simple burgundy gingham print and knew it was the one!

Well, seven years have passed and that fabric has become very faded from the sun. It needed a facelift. I adventured back to JoAnn's Fabric and was giddy with delight when I found the exact same fabric I used before. Same color, same print. Score!! And for about $35 I had all the material I needed. If I were to order them through a store, it would have cost me way more than $35!! It was a win-win!

(I'm slightly embarrassed to show you this, but below you can see the drastic difference in the fabrics. You can see how faded the curtains became from the sun)
Can you say faded? Yikes! 

Now, I know many people would say that there's no way they could make curtains. Seriously- if you can sew a straight straightish line, you'll be fine. With a sewing machine, a hot iron, fabric tape measure, and a little knowhow, it can be done. I promise.

This set of curtains was super easy to make since I already had my measurements from the previous set. I simply took off the old curtains, measured, cut, and sewed up the new ones! When making your first set of curtains there will obviously be some measuring and calculations to figure before you cut and sew.

Fold the edges under and press before sewing.

My curtains are literally long rectangles with a rod pocket. Pretty simple. I folded the edges (sides and bottom) of the fabric under and pressed it with an iron before sewing. For the top of the material (where the rod pocket will go) I folded the material under 2.5" and sewed a 1" pocket for the rod to slip through.
Top folded 2.5" to allow room for a rod pocket.


Sewing the edges under!


Making the tiers (panels) and valances uses the same process, the measurements are just different. If you can measure, cut, and operate a simple sewing machine while making a straight stitch, I know you can totally pull off a set of curtains yourself!

Finished product!


A fresh look in the kitchen!
I'm happy with how they turned out!


Sunday, September 4, 2016

I Scream. You Scream. We All Scream for FRIED ICE CREAM!

We spent the afternoon at the Big 4 Fair and of course enjoyed some delicious tastes that only the fair can bring. The tastes and smells of the fair reminded me of this delicious recipe for fried ice cream. It's a favorite of ours and I will occasionally make up a batch to top off the day... super easy and so addictingly good!! Check it out!


To get started, put a baking dish in the freezer for about an hour to chill OR you can use freezer paper and line the dish.


Scoop generous balls of ice cream and place onto the chilled dish (or paper-lined dish). I use vanilla ice cream, but you may use whatever flavor you prefer. Place the dish of scooped ice cream in the freezer until frozen solid.


While the ice cream scoops are freezing, cut the edges off the white bread. You will need two slices of bread per ice cream scoop.


Next, with a rolling pin, flatten the trimmed pieces of bread so they are flat!

Ice cream wrapped in 2 pieces of bread.


Remove the frozen ice cream scoops from the freezer and wrap the ice cream in two pieces of bread (the ice cream should be "sandwiched" between the bread), making sure to cover the ice cream completely. Gently "pack" the pieces of bread around the frozen ice cream. Place back into the dish and freeze for approximately 2 hours or until frozen solid. (I lined my dish with foil to allow easy removal)


Next, mix together cinnamon and sugar in a dish.

Heat oil (enough to halfway cover the ice cream scoops- I would guess about 1.5"- 2" of oil) to 365*. BE CAREFUL!

Very carefully place the bread wrapped ice cream scoops into the hot oil. Cook on each side for about 15 seconds. Remove and place on a plate lined with paper towels.


Allow any excess oil to drip onto the paper towels and then place into the dish with the cinnamon and sugar. Sprinkle & roll the fried ice cream in the cinnamon sugar mixture and eat immediately!

The combination of cold ice cream and the warm fried bread covered in cinnamon sugar is awesome! Enjoy :)


FRIED ICE CREAM


– ice cream, any kind or flavor
– white sandwich bread
– vegetable oil
– 2 teaspoons cinnamon
– ⅓ cup granulated sugar
*Optional: Top with chocolate syrup, whip cream, nuts, etc! 

How To
1)  Place a sheet pan in the freezer and allow to cool for at least 1 hour.
2) Using a large ice scream scoop, form balls of ice cream about 2½ inches in diameter. Place on the frozen sheet pan and return to the freezer until frozen solid.
3) Cut the edges off the slices of sandwich bread and flatten with a rolling pin. (You will need 2 slices for each ice cream ball.) Take the flattened bread and mold around the ice cream balls. Place back in the freezer for about 2 hours, until frozen rock-solid.
4) Mix the cinnamon and sugar together in a bowl large enough to hold and coat one ice-cream-ball at a time. Set aside.
5) In a pot, heat oil until it reaches 365 degrees Fahrenheit. (Be careful!) Dip each ice-cream-bread ball into the hot oil for about 15 seconds, until golden brown on all sides. Remove from the oil, pat dry with a paper towel, and roll in the cinnamon-sugar.
6) Garnish with your favorite toppings and serve immediately.


Wednesday, August 31, 2016

Awesomesauce!

Literally.... Awesome. Sauce.

I snagged a recipe for homemade spaghetti sauce from a friend and I'm so glad I did! It's super easy to make and tastes terrific. Making a batch of homemade sauce can seem pretty daunting, trust me. But the reality is, it can be quiet simple.

I don't have much of a green-thumb, let alone yard space. Because of that, I have created a miniature above ground garden that I made out of a cattle watering trough. In my very small garden, I have been able to pull off a lettuce plant (which has since gone to seed), one pepper plant and one tomato plant. My tomato plant has been very good to me this year. In past years I'm lucky to get 5 or 6 tomatoes; however, this year I have gotten 15+ tomatoes!! Yay :)

My solo pepper plant
It's not much, but it works for me!

With all these tomatoes I needed to find something to make. I'm the only one in my family who will eat tomatoes (and I only eat them on a sandwich/burger). So, homemade spaghetti sauce sounded perfect. Next time I think I will attempt homemade pizza sauce!


The first step in making the sauce involved washing and removing the stems on the tomatoes. This recipe called for 27 romas and I only had 13, so I cut the recipe in half.

After removing the stems, you will cut the tomatoes in half and discard the seeds into a bowl. Do not throw out the seeds/juice- you will use it! Put the deseeded tomatoes into an ungreased 9X13 dish. 

Next cut the onion and put in into the dish with tomatoes. Add the garlic cloves then sprinkle with kosher salt and pepper. 

Now you need to strain the seeds and juice. For this, I used a mesh colander and simply squished the pulp/seeds through the colander, letting the juice run into a separate dish. I then tossed the seeds, and ran the juice through the colander once more to make sure I didn't miss any seeds. 


The recipe simply states "pour a generous amount of the juice over the tomatoes". It does not give an exact amount and honestly that's okay. The juice will ultimately not be a part of the spaghetti sauce. I poured about 3/4 of the juice over my tomato/onion/garlic concoction. Next, drizzle with olive oil and gently toss. 


All ready for the oven!! Doesn't it look pretty?! --> 


Bake for 35-45 minutes at 425* (uncovered). 
Once out of the oven, allow it to cool for about 10 minutes. Strain the veggies using a slotted spoon into a food processor. I do not have a food processor, but I do have a 'Ninja' and love it. For for this, it worked just fine. (I would think a regular blender would work as well- you may just need to run it through a couple times to get the texture you desire).
This is my spaghetti sauce after being blended in the food processor (Ninja) The thickness/texture of your sauce is to your own liking and can be adjusted by blending more or less. 


Blend in the food processor for awhile and then add the tomato paste and balsamic vinegar. Blend some more until you have your desired texture/thickness. 


For this recipe, you can serve the sauce instantly or freeze it. I chose to freeze mine since spaghetti was not on the menu for tonight. I decided to freeze my sauce in Ziplock freezer bags, 2 cups per bag. I felt 2 cups was plenty for my family, but you can always freeze larger (or smaller) portion sizes if desired. 


Remember I said I cut this recipe in half? Well I ended up with just over 6 cups of spaghetti sauce! I was happy with this for a result considering this was my first time making homemade spaghetti sauce. Next time if I have the tomatoes to do it, I would love to triple the regular batch size and stock up on this super easy, super yummy sauce! I hope you give this recipe a try and enjoy it as much as we do!


**Recipe credit: Kate from "Wonderful Life Farm" http://wonderfullifefarm.blogspot.com

Wonderful Life Farm's Homemade Roasted Spaghetti Sauce
27 roma tomatoes
1 medium onion, quartered
10 garlic cloves, peeled
olive oil
kosher salt
freshly cracked pepper
about 1/8 c. fresh basil leaves
1 (6 oz.) can tomato paste
1 t. to 1 T. balsamic vinegar

Wash and stem tomatoes. Cut them in half and remove seeds. Save seeds and strain the juice from the seeds.

Place the tomatoes in an ungreased 9 x 13 pan. Add onions, garlic, and basil leaves to pan. Pour a good quantity of reserved tomato juice over vegatables. Sprinkle all with kosher salt and freshly cracked pepper. Drizzle with olive oil and toss with your hands to combine.

Roast at 425 degrees for 35-40 minutes. Remove and cool for about 10 minutes.

Remove vegetables and herbs with a slotted spoon to a food processor. Whir to a fine texture. Add tomato paste and balsamic vinegar. Whir to combine.

Transfer most of the sauce to a separate bowl and blend with an immersion blender to a smooth texture. Taste to test for the right texture. Add back in the reserved sauce, and stir to combine.

Serve immediately or freeze for later.

Yields about 4 cups of sauce.

Sunday, August 28, 2016

The Dreaded Fitted Sheet...

This is part of the yellow jack hive- GROSS!
So, before I begin talking about fitted sheets (I know you're all super excited about this one- hold tight) I wanted to share our adventure for the day!

Today we literally had a full on war against a swarm of yellow jackets that decided to make themselves a nice nest in our basement. We have been combating them for the last two weeks thinking they have been sneaking in the back door. Little did we know, they had found a small crack in the foundation and burrowed in, making a freaking hive (nest? I'm not sure what you call it exactly.)
Anyway, we geared up (looking rather ridiculous) and armed ourselves with vacuums and hornet/wasp spray. It was a long battle, nobody no humans got hurt, and we ultimately won. We filled in their entrance to their home with expanding foam and they are gone. I think. Finally. Never agin!!


Now, on to more important things... like how to fold a fitted sheet!


Okay, be honest here... how many of you actually neatly fold your fitted bedsheets? They're a pain in the tush to fold, right? They're awkward, all elasticy and stretchy causing us to give up and just roll them in a "neat" little ball and tuck it away in the closet, out of sight. There- all done :)

Wrong!!

Folding a fitted sheet is actually fairly simple, and today I'll show you the proper way to neatly fold those pesky delightful bungie-strung sheets.


Do your fitted sheets get put away looking like this? Trust me, you're not alone! 


**For this demonstration, I will be using a twin fitted sheet. When folding a larger size fitted sheet, it may be helpful to have an extra set of hands to help, or you could use your bed/couch/ or clean floor as a place to spread the sheet out while folding.**


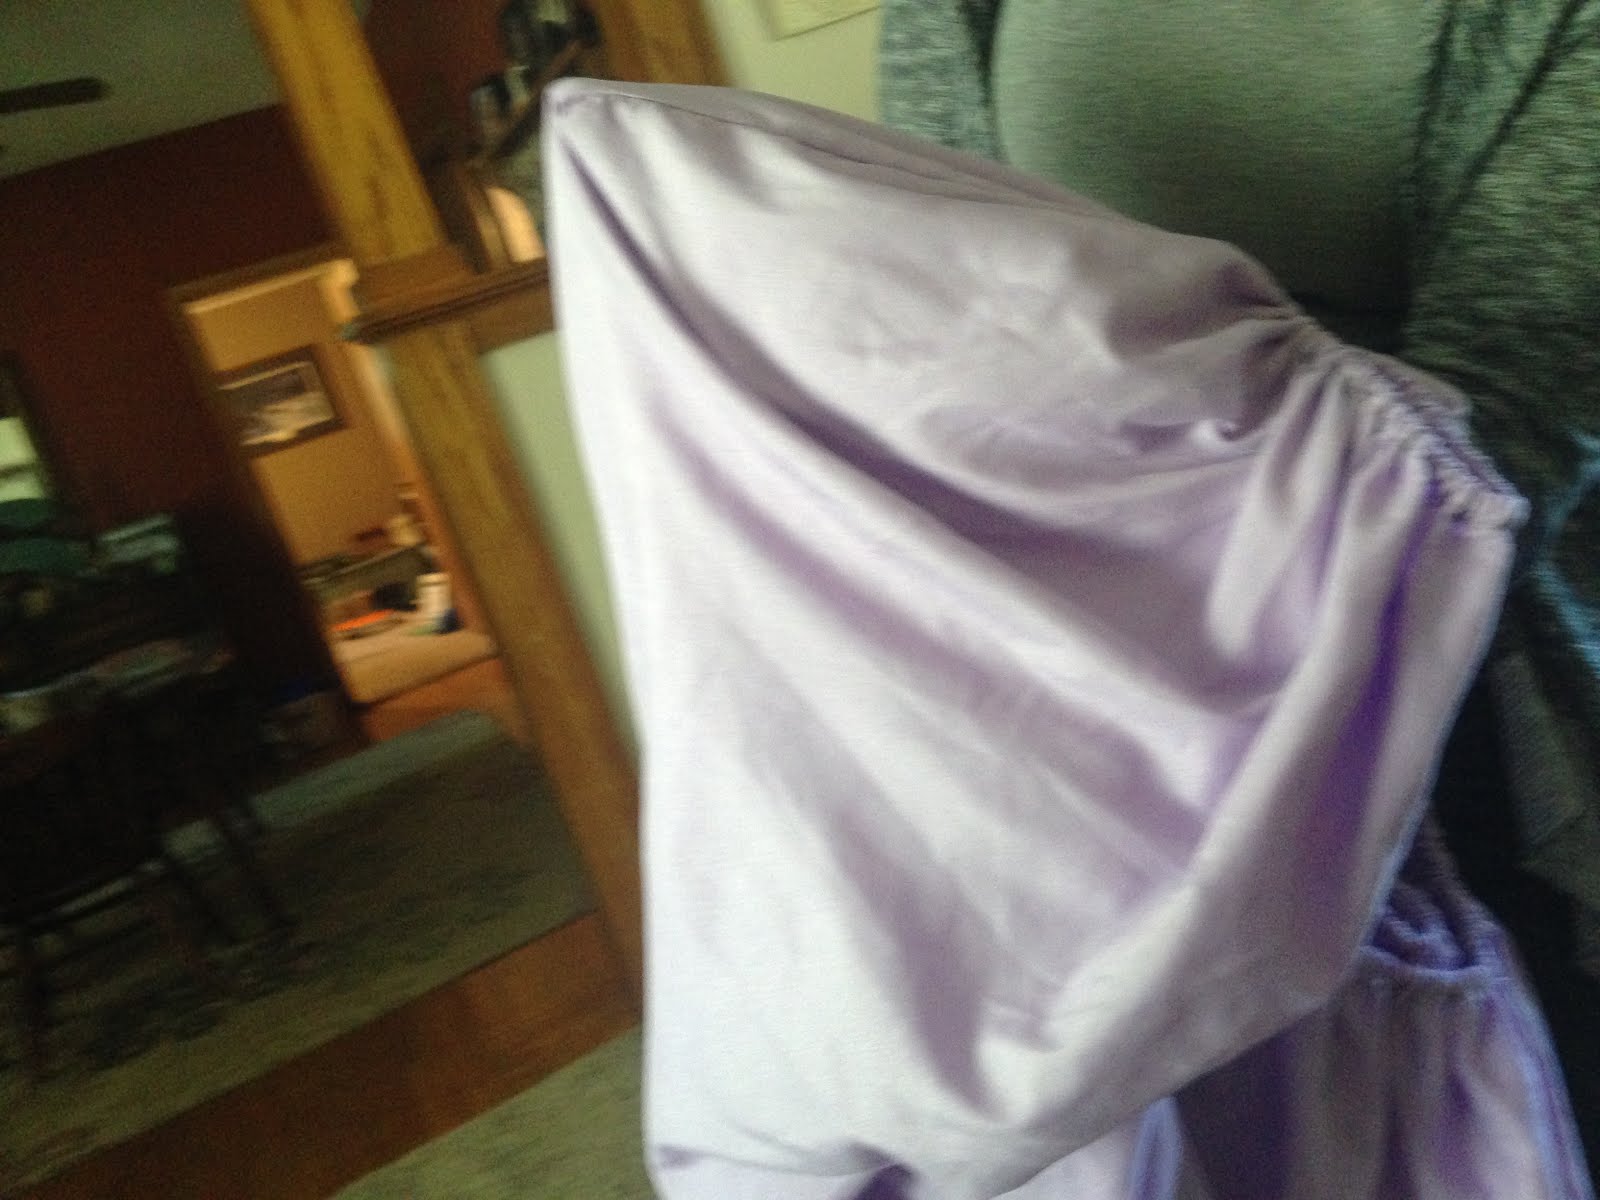
Step 1: Find the "short end" of your fitted sheet. Using both hands, stick your hands into the points of each corner so that the sheet is inside out.

                   
Notice how my hand in tucked in the corner and the sheet is inside out!


Step 2: Bring both hands together, touching points (corners).


Step 3: Fold the two corners together by flipping one hand over top of the corner sheet on your other hand. You should have two corners tucked together now!  -->


Step 4: You are now going to do this with the other "short side" of the fitted sheet. On each hand, you should have two corners folded together with your fingers in the points of each corner.
Okay, no laughing! :) But it should look something like this! 


Step 5: You are now going to do exactly what you just got done doing, again. On both hand you have two corners folded together. You are going to bring your hands together (touching points) and fold the corners together by flipping one hand over the other.


Bring points together.


           Flip one hand over the other, tucking the corners together. Now all the corners are on one hand, folded together. 


Step 6: ^^ This is what your sheet should look like... lay your sheet on a flat surface such as your bed, couch, or clean floor.

Lay the sheet out flat and smooth out the wrinkles.


Step 7: Fold the fitted sheet in half lengthwise. Continue to fold in half until you have the fitted sheet folded to your desired dimensions.  


All done!  See, that wasn't so bad. You have a nicely folded fitted sheet that will look fabulous in our closet.


**Helpful Hint**

One way you can keep your closet neat and organized, and keep the sheet set together, is by tucking the flat sheet and fitted sheet into the pillowcase. A neatly folded "package" ready to go!